Linocut Illustrations
Lately I have been focusing on illustrating and I’ve picked up a new hobby– linocut printmaking. (You can think of it as making giant custom stamps.) I love working with my hands to carve the design into the block and creating designs that play to the strengths of the medium!
Flower Girl
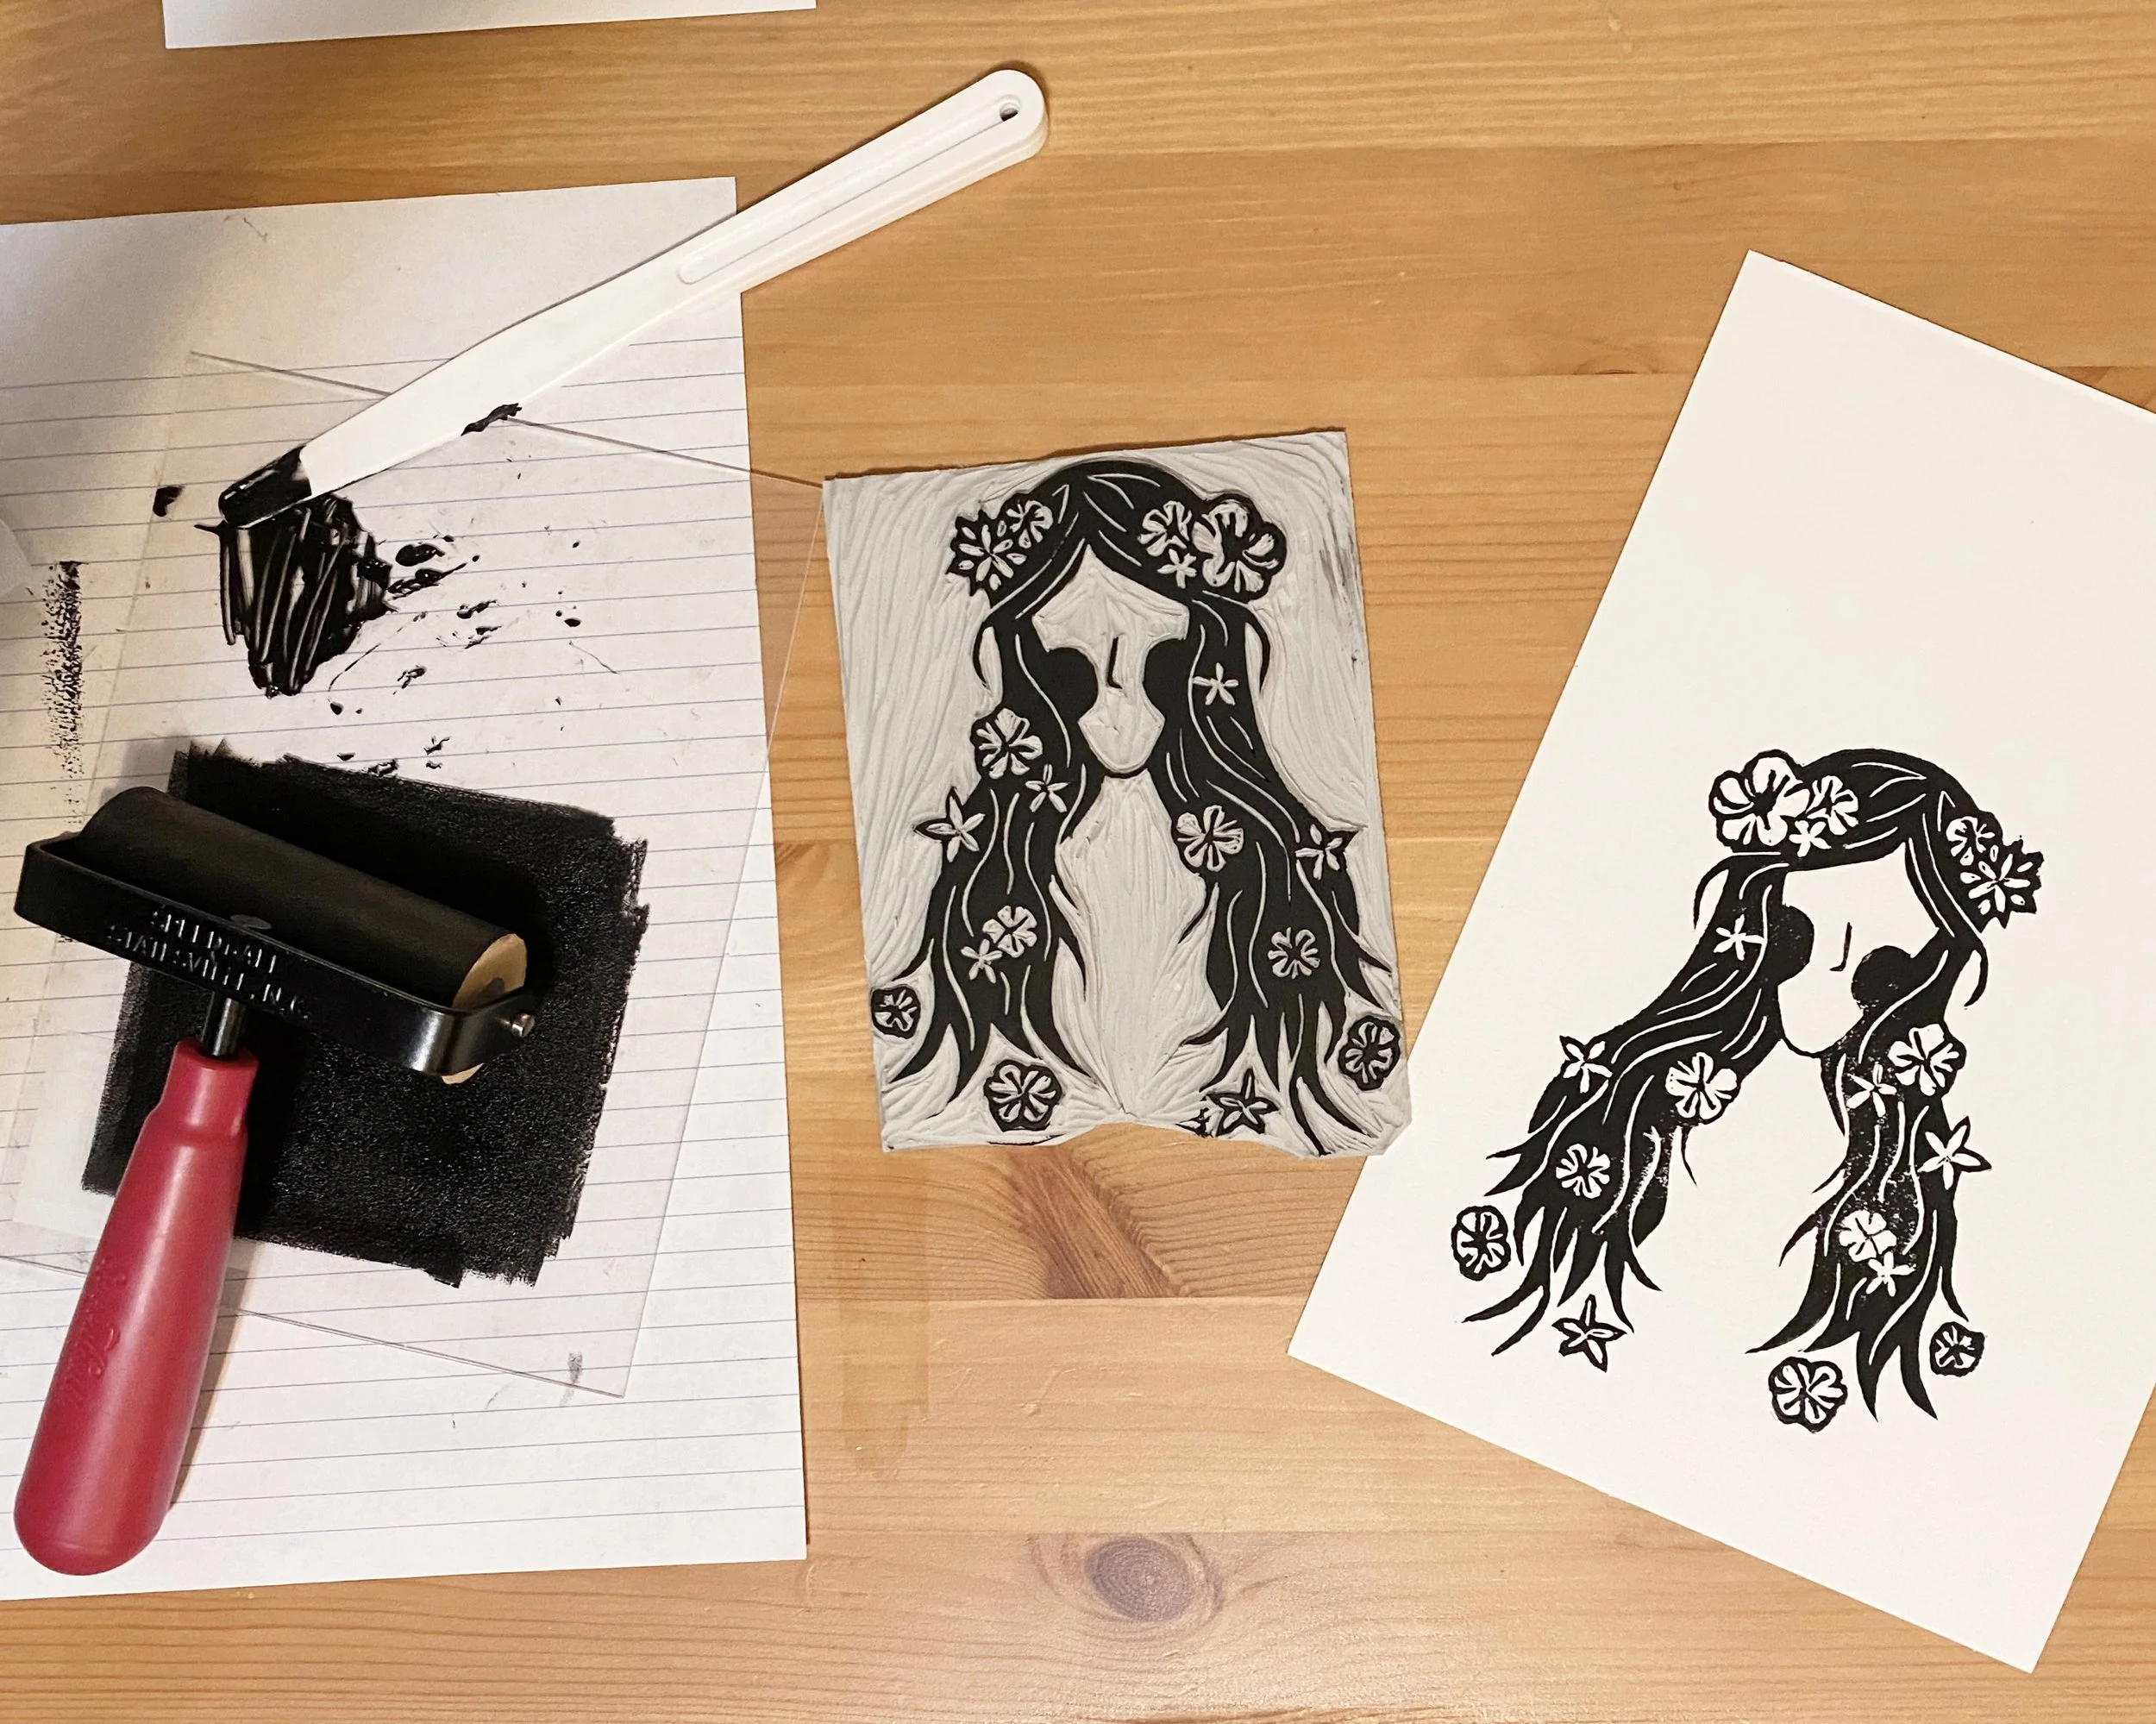
This design super fun to carve with all the wavy lines in her hair! I tried something different (and risky) with this print. After printing the ink onto the page and letting it dry, I came back with my water colors to paint in the flowers and some details. What makes this so risky is that the black ink dissolves when it gets wet, but I think it was worth it because I love how it turned out!
Punalu‘u Beach
I wanted to be very intentional in my about how I used the black ink and to challenge myself with something more ambitious, so I chose to illustrate the black sand beach of Punaluʻu.
Carving took longer than the others (all those thin lines!), but the extra time was worth it. I’m proud of how this turned out and I love how the texture from an imperfect print makes the sand look!
Process
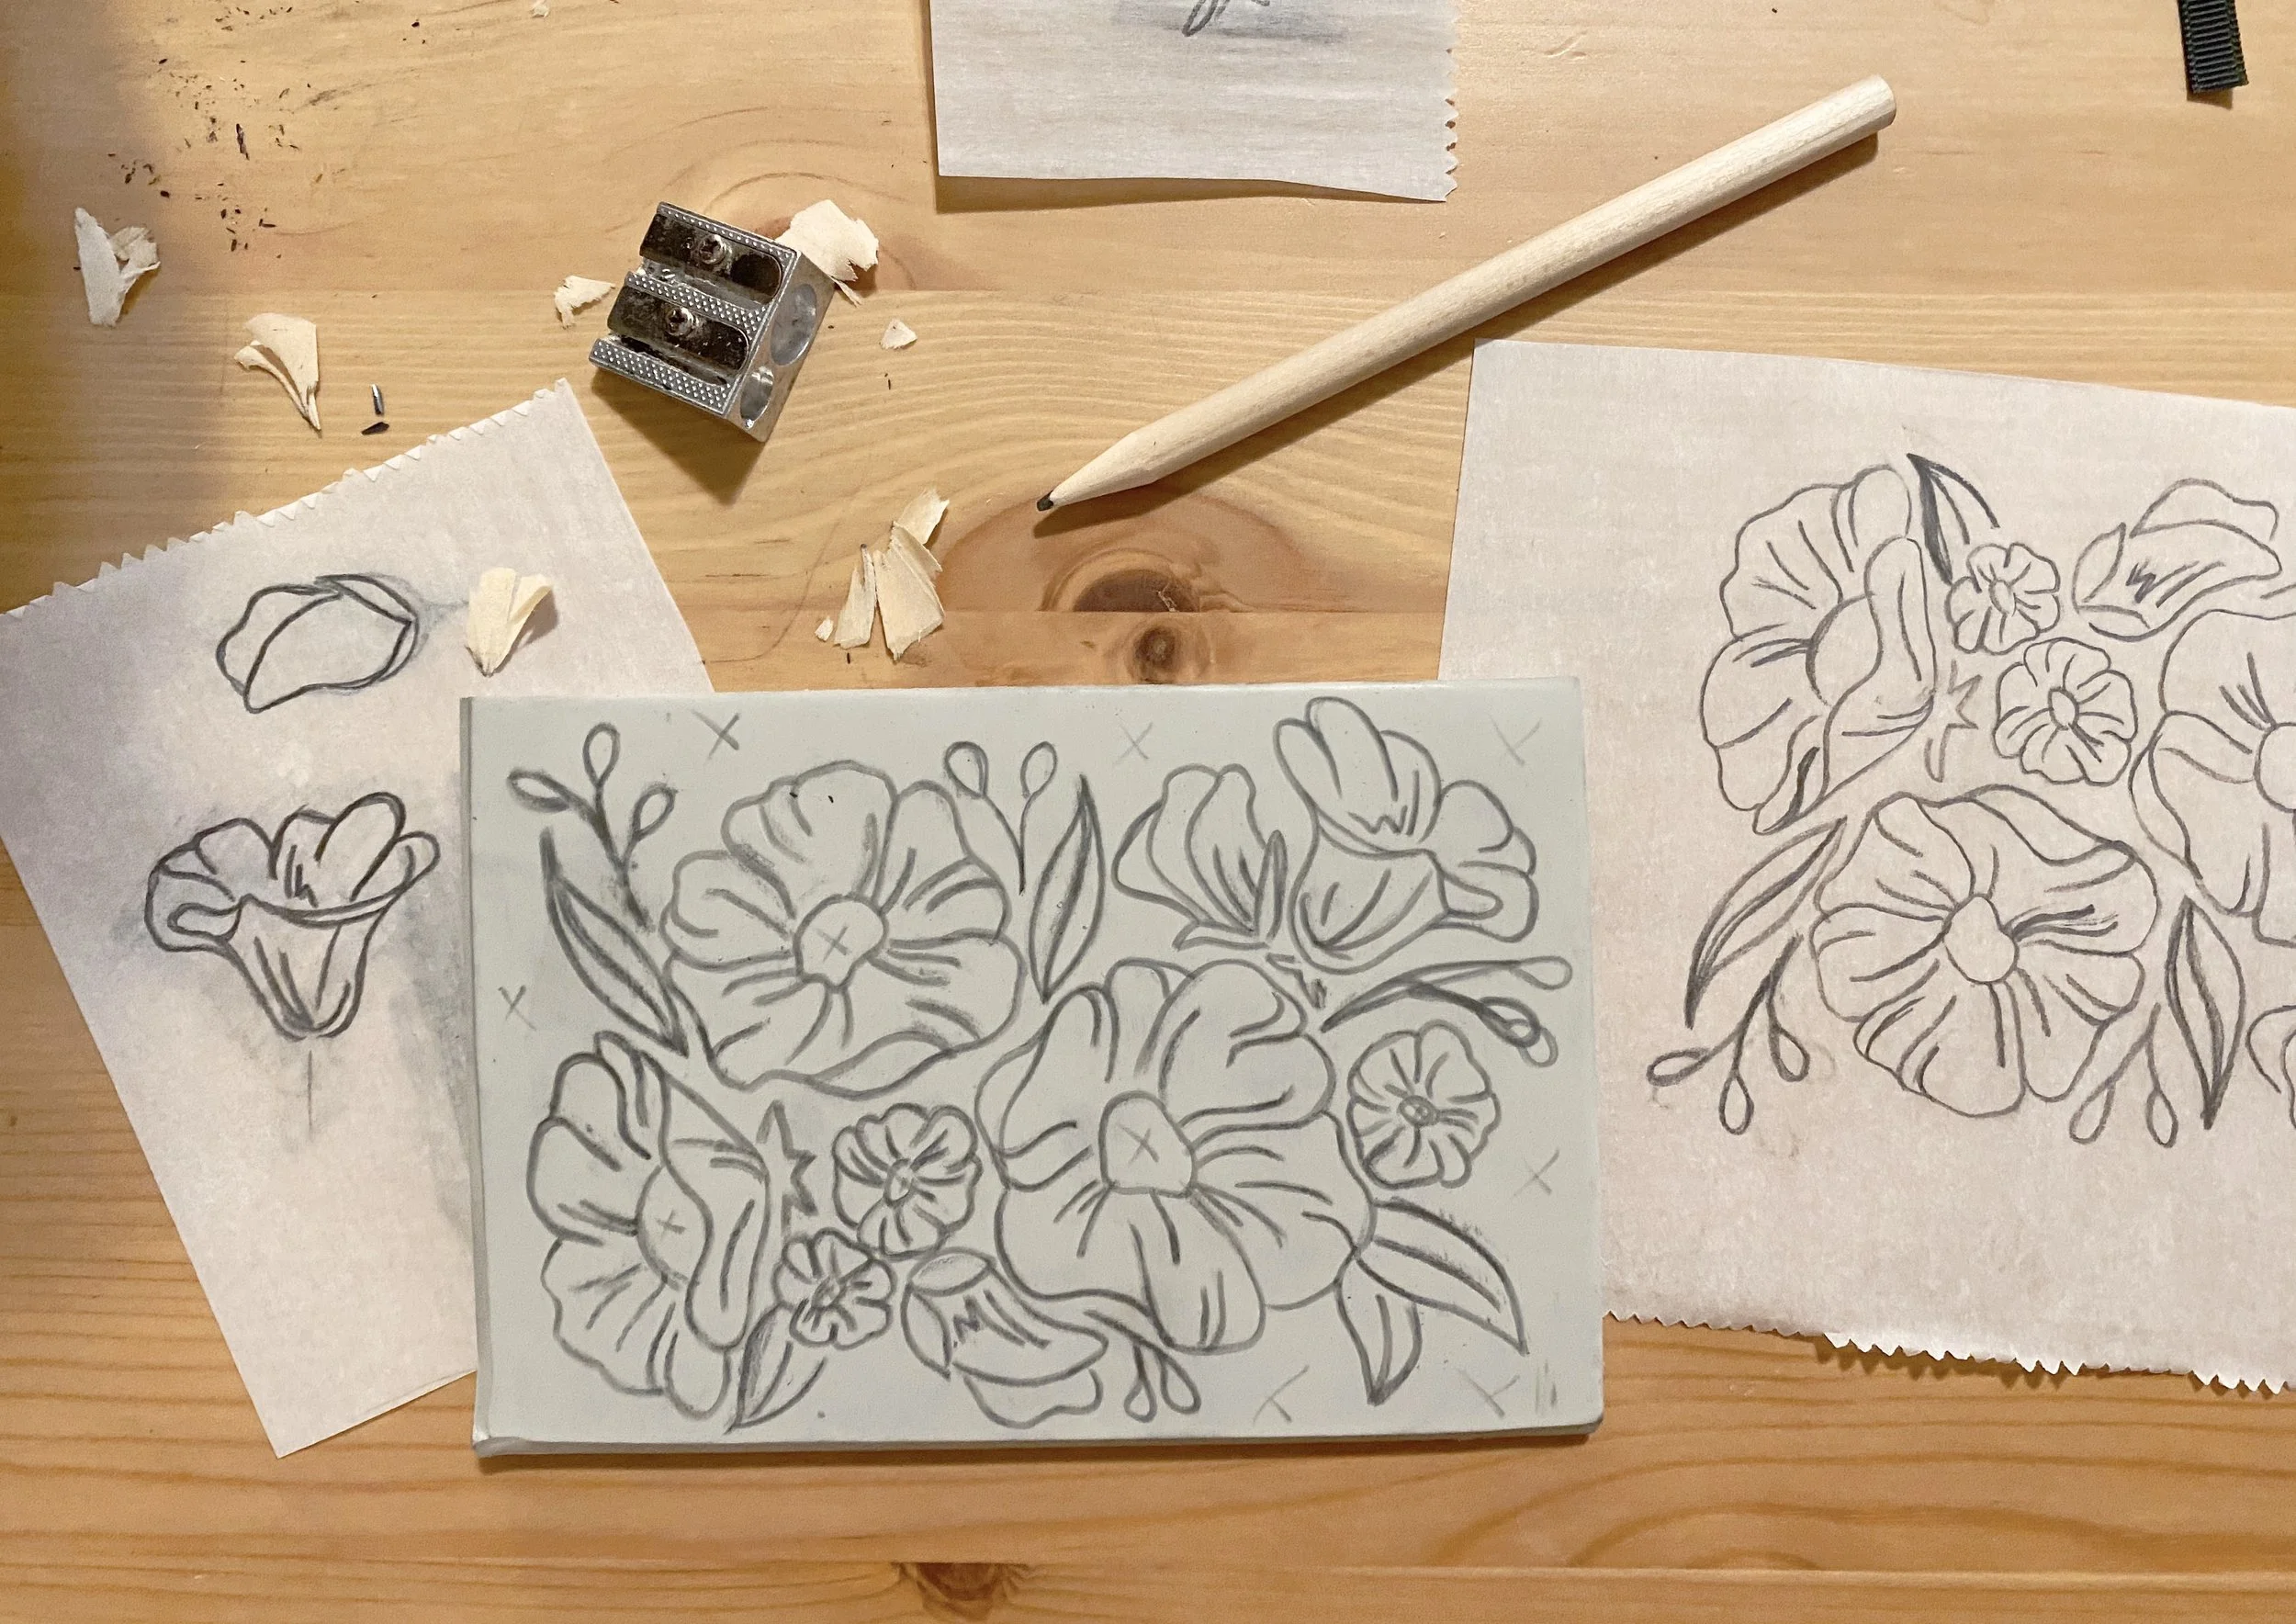
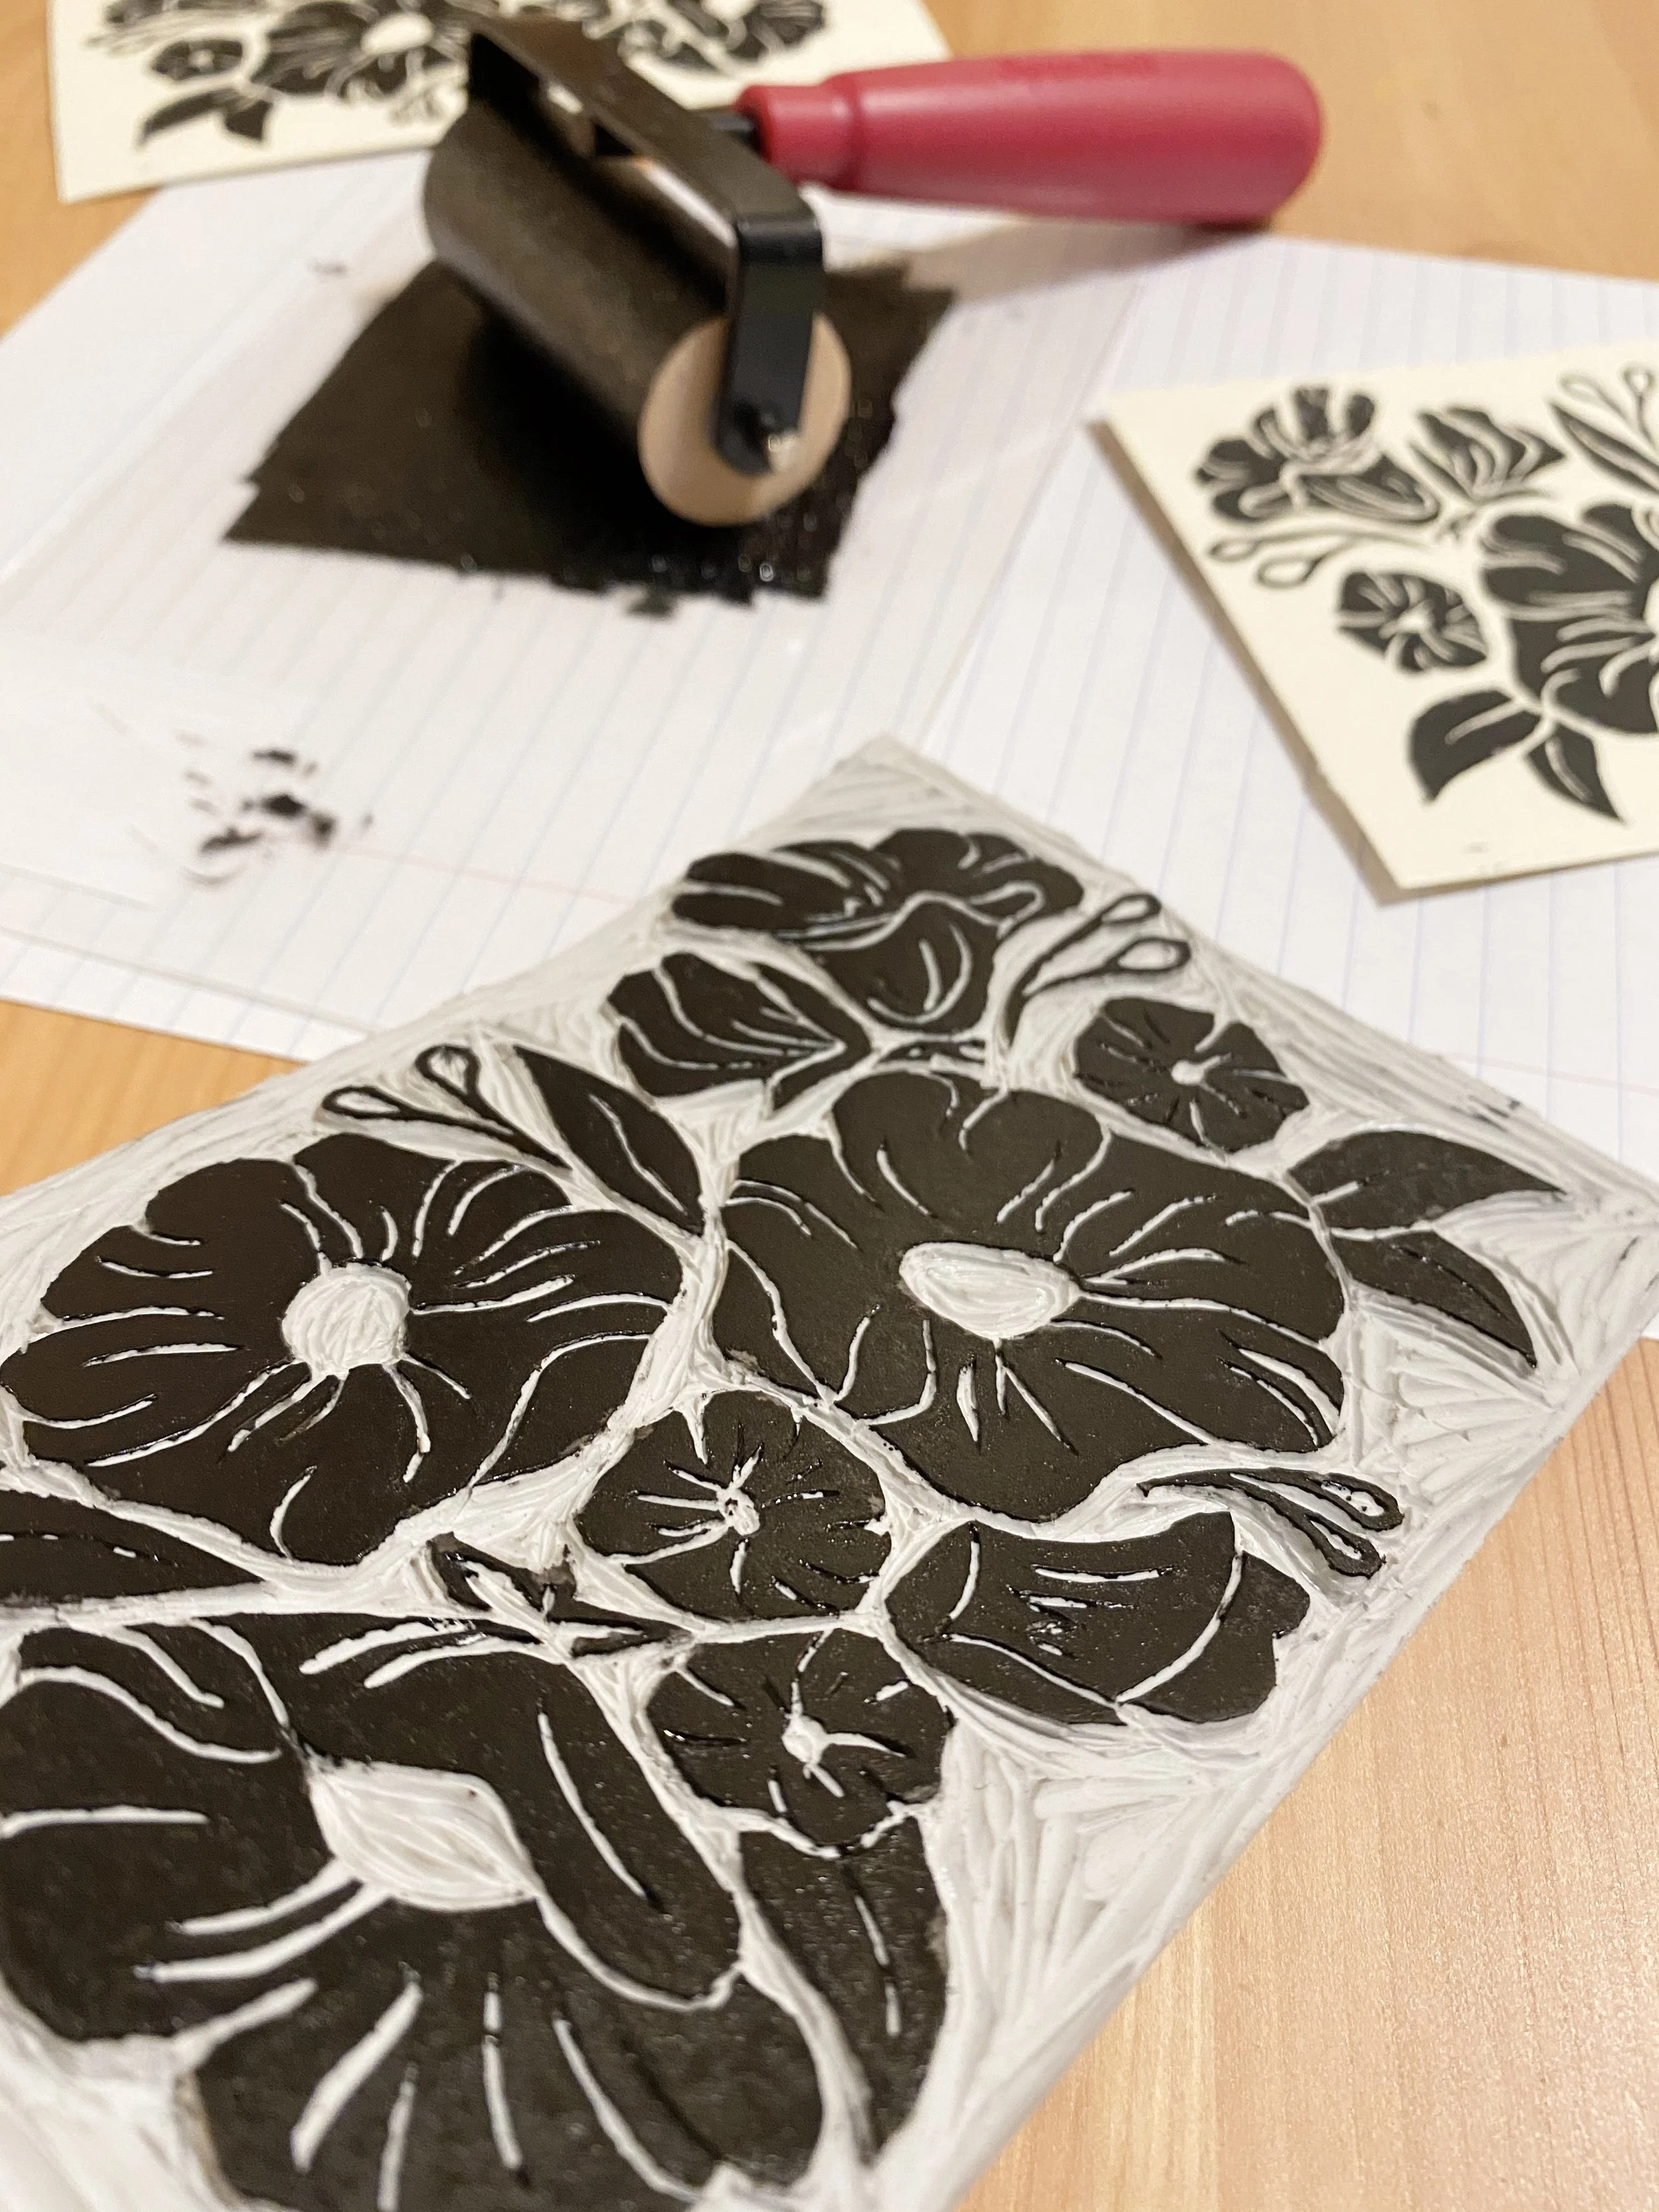
Here are a few behind the scenes photos showing the printmaking process. After I am happy with my design, I trace the sketch onto the linocut block and can start carving away, removing everything around the design. Then I can use my brayer to roll the ink onto the block and make some test prints. After seeing how it prints, I make some adjustments and then I’m ready to make a series of prints!


